
Do you wish to make your hammock bug net? Here are some detailed DIY instructions that will guide you to make a perfect Hammock bug net that will look just like any other hammock DIY in the store. Follow the straightforward method below to guide you to make a hammock for your summer camping.
Easy DIY hammock bug net will not require any skills. It is basic sewing and the ability to follow instructions. The DIY project will deliver a super hammock bug net that will do the job while camping. If you stick to the tips, you will end up with a professional hammock bug net that may even surpass the beauty of the one from a professional manufacturer.
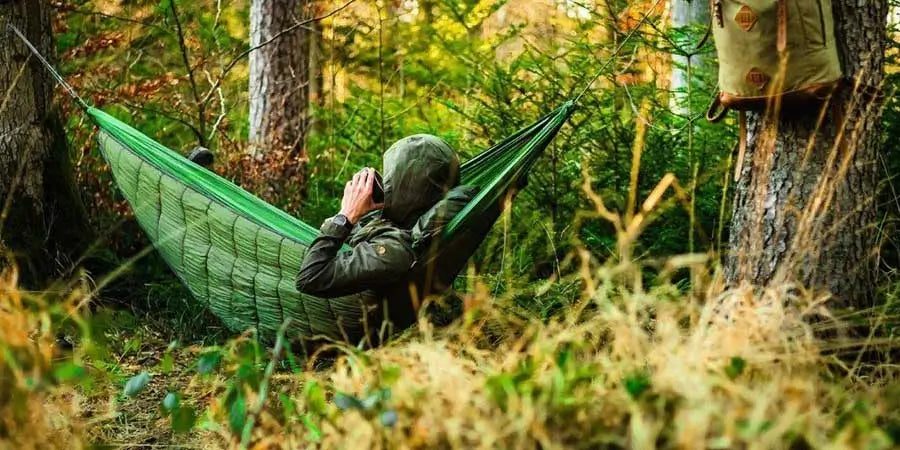
The inspiration AYAMAYA hammock bug net
You will need a perfect hammock bug net from a professional manufacturer while doing a DIY project on your own. We prefer you get inspiration from the professional Ayamaya hammock bug net. The bug net has features that can inspire you when making the DIY hammock bug net.

When making an easy DIY bug net, you will need something that will cover a total cover to your hammock, meaning that you will need a large-sized mosquito net. The bug net should be breathable and offers high visibility. The Ayamaya hammock bug net has a zipping feature, but our simple DIY bug net may not have the zipping. You can adjust if you want to be safer on the other parts of your body.
You will also be considering the entry and exit space. Ensure that you are using a big net that will accord you with plenty of headroom. If you want your DIY hammock bug net to cover two hammocks, it is better to have a large net. A large net can cover both double and single-sized hammocks.
When making the DIY bug net, make sure that you are not compromising with space. Having sufficient space will accord extreme comfort. The mosquitoes and flying insects will be a distance away from you. You will have no issue with the buzzing noise of mosquitoes.
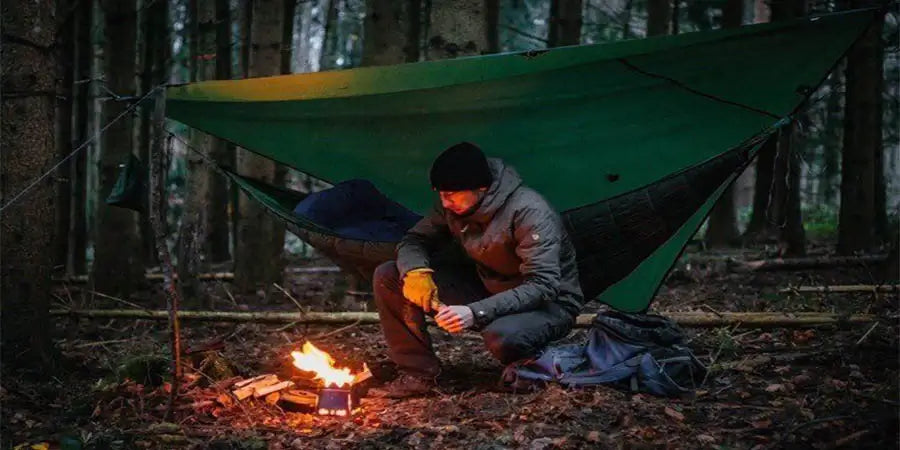
You will also use the hanging hooks to do a first but easy setup. Our DIY hammock bug net has ridgelines like the Ayamaya! It is a real inspiration for making the best DIY hammock bug net.
Consider the steps below to guide you in making a perfect DIY hammock bug net using the supplies here.
What you need for the DIY project
- A mosquito netting
- A suspension cord
- A pair of scissors
- Tape measure
- A sewing machine
- Hand sewing machine
- A cord with a Tightener
Make sure that you have all these supplies. They will play a role while you are making your hammock bug net. When making a DIY hammock bug net, you should pay attention to every step because any small mess may make a huge difference. The steps are simple, and there is no need to worry!
Steps to make Hammock bug net
It is now time to start over a DIY hammock bug net project. DIY means you do it yourself! You can adjust the way you want, provided that you are getting something that will work like a hammock. Our inspiration here is the Ayamaya hammock bug net.

- So we start the project by measuring the ridgeline. Measuring the ridgeline will ensure that you get sufficient space to separate your hammock and the mosquito net. Your hammock net should stand above your hammock. The net will attach to the trees from two sides, but standing above the hammock attachments. Measure the distance between the trees, while allowing some distance apart to gather for tree distances. You will cut the suspension cord to be longer.
- Now, it is time to fold that mosquito net in half along the ridgeline at the middle. Ensure that the mosquito netting is sticking out a few feet at every end.
- Once you have folded the mosquito net along the ridgeline, sew the ridgeline to the mosquito netting. If you are good at using the sewing machine, it will be better, but if you find challenges with the machine, you can use a hand supply provided that it completes the job.
- You need to know the netting length to ensure that it is sufficient to cover your hammock. Knowing the netting length is a milestone to avoid any errors. It won’t work if your netting length is smaller than the hammock itself.
- Now once you are sure that the netting size is larger than the hammock, proceed to sew the sides together. While sewing, you will keep in mind that you are covering the hammock from bugs. Never leave any spaces because they will be the entry routes for bugs.
- It is now time to sew a small fold along the bottom ridge. It will be a space for the cord. You will leave a small gap at one end that will act as a door.
- Now insert the cord through the sewed cords above. The cord will hold the two bottom pieces of the mosquito net together.
- The last stage is the setup stage. You will then set it up around your hammock. Here you will attach the ridgeline along with the trees while ensuring that your hammock is inside. You will then close up the door once you are inside the hammock by cinching the Tightener to keep the bugs out!
There you are with a perfect hammock bug net!
How to hang your hammock bug net?
We may have briefly mentioned how you will set up the hammock bug net from the steps above. That analogy may not be complete. Let us take a closer look at how you are going to hang your hammock bug net.
While you were making your DIY hammock bug net, there was deliberation on how to hang it. It depends on the type of hammock that you made. For the case above, it was not attached to the hammock, and that is where you will find convenience when hanging it. The DIY hammock net is perfect since you will remove it when you are resting during the daytime, and you don’t want to experience the bulk of the net. When you don’t need the bug net, you can keep it inside the sack, but always keep it safely lest you damage the net, and your work will be in vain.

The steps are simple.
- You will have the straps for the hammock and the cords for the bug net. Tie the straps on the trees. Two trees are enough.
- Place the hammock bug net cords above the hammock straps in both trees. Start by tying your hammock bug net from both ends on the cords.
- Once the net is suspended, tie the hammock on straps by fixing using the carabiners.
- Do the same on both ends so that the hammock stays at the center while the hammock bug net is at the outer layer.
- Fix other ridgelines of the net once the hammock after suspending in the middle of the net.
- Get inside the hammock and zip your hammock net.
Ensure that the straps are attached to the trees the hammock straps because they will be supporting your weight. You only need to make sure that the hammock bug net is above the hammock so that you prevent the bugs from getting anywhere closer to you.
Sum up
To conclude, it is possible to have a hammock bug net even without buying from the manufacturer. If you have been using the hammock bug nets for some time, it will be easy making one for yourself. The DIY hammock bug net is best for campers who enjoy doing things their way. You can try other types of bug nets because there are plenty of them from the internet.